Embedded Submerchant Onboarding for Trolley Partners
By: Myles Foster • 8 min read • 1,617 wordsPosted on September 4, 2026
Trolley Partners can embed a merchant onboarding flow directly in their own dashboard. This post explains the partner model and walks through creating submerchants and loading the embedded onboarding widget.
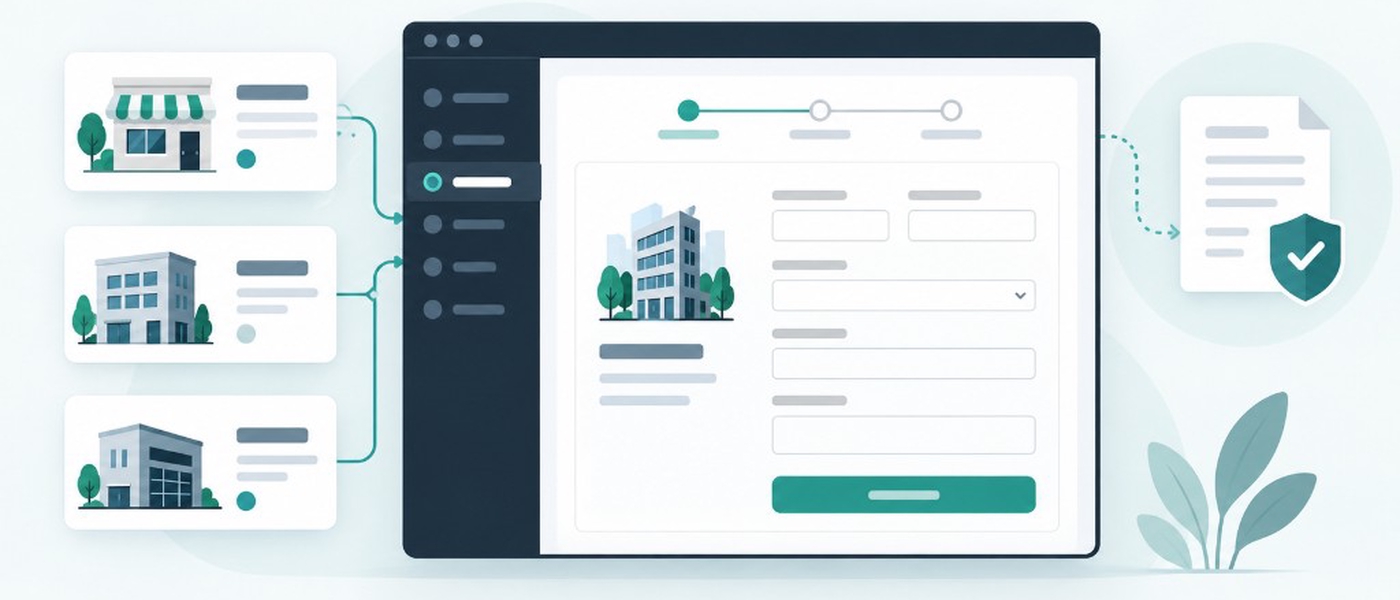
If you run a software platform with business customers of your own, those customers are not just recipients you pay. They are merchants in their own right: they manage payouts, fund balances, and need their own compliance review. Trolley’s Partner model is built for that two-level structure.
A Trolley Partner is the parent platform. Each of your customers becomes a submerchant — a connected Trolley merchant account under your parent account, with its own API keys, payout settings, and recipients. That is what lets you offer payouts-as-a-service inside your product while Trolley handles tax, risk, and banking compliance behind the scenes.
This is a different problem from recipient onboarding. The Trolley widget (Pay, Tax, and Trust modules) is for the people your merchants pay. Embedded submerchant onboarding is for the businesses on your platform who will send those payouts. It is an iframe you drop into your own dashboard so a customer can complete merchant onboarding without leaving your product.
In this post, we’ll cover how that flow fits together and how to set it up.
What you are building
When a customer on your platform is ready to activate payouts, they should stay in your UI. Your backend creates their submerchant account through the Partner API, then your frontend loads Trolley’s embedded onboarding form in an iframe. The customer submits business and identity details there. Trolley’s compliance team reviews the submission and, if anything is missing, follows up with the submerchant directly.
That last part matters. You do not have to collect sensitive documents or run KYB yourself. You own the entry point; Trolley owns the review.
At a high level, the integration has three steps:
- Get approved as a Trolley Partner and receive your onboarding template IDs.
- Create the submerchant with the Partner API when the customer opts in.
- Load the embedded onboarding iframe and handle its events.
Step 1: Get approved as a Trolley Partner
Embedded onboarding is available to approved Trolley Partners. Email support@trolley.com or reach out to your account manager and include:
- Your platform name and Trolley account
- Expected submerchant onboarding volume
- Target countries and industries
- Your desired flow of funds:
- Have each submerchant fund their own balance directly (recommended)
- Collect funds from your submerchants outside of Trolley, and remain responsible for funding each submerchant account
After approval, Trolley provides:
- A template ID for your embedded onboarding form. If you onboard submerchants in more than one country, you will receive a template ID per country.
- Environment details for sandbox and production, including any domain allowlisting needed to host the iframe.
Keep those template IDs handy. You will pass the correct one into the iframe based on the submerchant’s country.
Step 2: Create the submerchant with the Partner API
When to call it
Call Create Sub-merchant when your customer clicks a call-to-action to activate embedded payouts. Collect basic company details in your app first, then create the submerchant from your backend.
Keep the create call and the iframe on the same environment. Do not create a live submerchant and then load a sandbox frame, or the reverse.
| Environment | Parent keys | Create endpoint | Frame mode |
|---|---|---|---|
| Sandbox | Parent sandbox keys | POST /v1/profile/sandbox |
SANDBOX |
| Production | Parent production keys | POST /v1/profile/submerchant |
PRODUCTION |
Sandbox create is
POST /v1/profile/sandbox
. Include "apikey": true so the response includes accessKey and secretKey. Production create is POST /v1/profile/submerchant with the full merchant and onboarding payload below.
What to store
The create response returns credentials you will not see again. Store these in your system immediately:
merchant.id— the submerchant ID, used later as the iframe’s client referenceaccessKeyandsecretKey— the API keys for that submerchant
Treat the secret key like any other credential: encrypt it at rest, never send it to the browser, and do not log it.
A successful response looks like this:
{
  "ok": true,
  "merchant": {
    "id": "M-1a2B3c4D5e6F7g8H9i0J1k",
    "accessKey": "AK-1a2B3c4D5e6F7g8H9i0J1k",
    "secretKey": "SK-1a2B3c4D5e6F7g8H9i0J1k"
  }
}
Country and currency must be accurate
The production create endpoint has several required fields. merchant.country and merchant.currency need to match the real business. Use a 2-letter ISO country code and the matching currency:
| Jurisdiction | merchant.country |
merchant.currency |
|---|---|---|
| United States | US |
USD |
| United Kingdom | GB |
GBP |
| Canada | CA |
CAD |
| Eurozone | ISO country code (e.g. DE, FR) |
EUR |
| Australia | AU |
AUD |
onboarding.businessCountry should be the same as merchant.country. For Canada, onboarding.businessRegion must be a valid province.
The remaining onboarding fields are required by the API but are not shown to the submerchant in the embedded form. You can send placeholder values at create time; Trolley overwrites them once the submerchant is approved.
Example request
Sandbox, using parent sandbox keys:
curl \
  -H 'Authorization: prsign <SANDBOX-ACCESS-KEY>:<SIGNATURE>' \
  -H 'Content-Type: application/json' \
  -H 'X-PR-Timestamp: <timestamp>' \
  -X POST 'https://api.trolley.com/v1/profile/sandbox' \
  --data-raw '{
    "apikey": true,
    "merchant": {
      "name": "Submerchant Business Name",
      "currency": "USD"
    }
  }'
Production, using parent production keys:
curl \
  -H 'Authorization: prsign <ACCESS-KEY>:<SIGNATURE>' \
  -H 'Content-Type: application/json' \
  -H 'X-PR-Timestamp: <timestamp>' \
  -X POST 'https://api.trolley.com/v1/profile/submerchant' \
  --data-raw '{
    "merchant": {
      "name": "Submerchant Business Name",
      "country": "US",
      "currency": "USD",
      "website": "https://www.example.com"
    },
    "onboarding": {
      "businessLegalName": "Legal Name Default",
      "businessAsName": "DBA Default",
      "businessTaxId": "123456789",
      "businessPhone": "+1 855 672 9688",
      "businessWebsite": "https://www.example.com",
      "businessCategory": "business_service",
      "businessCountry": "US",
      "businessCity": "Default City",
      "businessAddress": "1234 Front Street",
      "businessZip": "10012",
      "businessRegion": "NY",
      "businessTotalMonthly": "1000",
      "businessPpm": "1000",
      "businessIntlPercentage": "0",
      "expectedPayoutCountries": "US"
    }
  }'
Authenticate these calls with your parent Partner API keys for that environment, not the submerchant keys you are about to receive. After you persist merchant.id and the new keys, continue to the embedded onboarding step in your frontend.
Step 3: Load the embedded onboarding iframe
Trolley uses a technology partner to power the onboarding UI. You embed that UI as a web frame in your dashboard — not as a popup button. Use the Web Frame option in each integration guide, not Web Button.
What you need
- The
template_idfrom Step 1 (per country, if you have more than one) - The
merchant.idfrom Step 2 - Environment mode:
SANDBOXorPRODUCTION
How it works
Install the web SDK and render <aiprise-frame> in a dedicated onboarding page:
npm i aiprise-web-sdkimport "aiprise-web-sdk";<div style="width: 100%; min-height: 850px;">
<aiprise-frame
id="submerchant-onboarding"
template-id="YOUR_TEMPLATE_ID"
mode="SANDBOX"
client-reference-id="M-1a2B3c4D5e6F7g8H9i0J1k"
></aiprise-frame>
</div>template-id and mode are required. mode must match the create call from Step 2: SANDBOX after POST /v1/profile/sandbox, or PRODUCTION after POST /v1/profile/submerchant. Pass the Trolley merchant.id as client-reference-id so the session maps back to the submerchant you just created. You can optionally attach extra context with client-reference-data.
Listen for frame events
The frame emits started, successful, continue, and error. There is no abandoned event — the iframe stays visible until your app hides it — so you control when the frame is shown and dismissed.
const frame = document.getElementById("submerchant-onboarding");

frame.addEventListener("aiprise:started", (e) => {
  // Persist this so the customer can leave and resume later
  saveVerificationSessionId(e.detail.verification_session_id);
});

frame.addEventListener("aiprise:successful", (e) => {
  // The form was submitted. This is not the same as KYB approval.
  markOnboardingSubmitted(e.detail.verification_session_id);
});

frame.addEventListener("aiprise:continue", (e) => {
  hideOnboardingFrame();
});

frame.addEventListener("aiprise:error", (e) => {
  console.error(e.detail.error_code);
});
Save verification_session_id when the session starts. To resume an in-progress onboarding, pass that value back on the frame as session-id instead of creating a new session:
<div style="width: 100%; min-height: 850px;">
  <aiprise-frame
    id="submerchant-onboarding"
    template-id="YOUR_TEMPLATE_ID"
    mode="SANDBOX"
    client-reference-id="M-1a2B3c4D5e6F7g8H9i0J1k"
    session-id="YOUR_SAVED_VERIFICATION_SESSION_ID"
  ></aiprise-frame>
</div>
Omit session-id when starting a new onboarding. If you include it, template-id is still required by the SDK but the saved session is what gets resumed.
Note: successful means the customer finished the form. It does not mean Trolley has approved the submerchant.
UX guidance
- Put the frame on a dedicated onboarding page.
- Make it full width on desktop when possible.
- Keep your main navigation visible so the user can leave and come back.
- Hide the frame yourself after
continueorsuccessful, then show a confirmation state in your own UI.
Integration options
Use the Web Frame option in the guide for your stack:
For mobile:
To match your dashboard, pass theme on <aiprise-frame> and follow the
theming documentation
for available attributes.
After submission: confirm to the submerchant and close the loop
Once the form is submitted, tell the user onboarding is complete and that Trolley will contact them directly if anything else is needed. That is intentional: Trolley’s compliance team talks to submerchants during review, which keeps your team out of sensitive document collection and follow-ups.
On the Partner side, mark the onboarding as submitted in your system. Trolley receives the submission automatically through the onboarding integration, so you do not need to notify Trolley separately. Wait for Trolley updates and any follow-up requests.
Trolley will review the submission, contact the submerchant if anything is missing or unclear, and update you when the submerchant is approved or if action is required.
Next steps: configure submerchant settings
After approval, you can configure the submerchant account programmatically or in the Dashboard — branding, payout settings, and the rest of the merchant profile. Get in touch with Trolley support or your account manager for the programmatic setup options that apply to your program.
For the create-submerchant request itself, see the Partner API documentation .
Wrapping up
Embedded submerchant onboarding lets you offer payouts inside your product without sending customers to a separate Trolley-hosted flow, and without taking on KYB yourself. Create the submerchant when they opt in, load the iframe with the right template and merchant ID, and let Trolley close the compliance loop.
If you are not a Partner yet, start with support or your account manager. If you already are, the Partner API and the web frame are the two pieces you need to wire this into your dashboard.
As always, if you have questions or run into issues, reach out to us at developers@trolley.com.